Interactive alarm activation scene for Home Center 3
In this blog I'll show you my smart HC3 alarm activation scene that notifies you when there is are still doors or windows open when activating the alarm.
Summary
In addition to my previous blog about installing a HC3 alarm system I wrote a smart alarm activation scene to arm the HC3 alarm with a RFID reader, keyfob or geofencing.
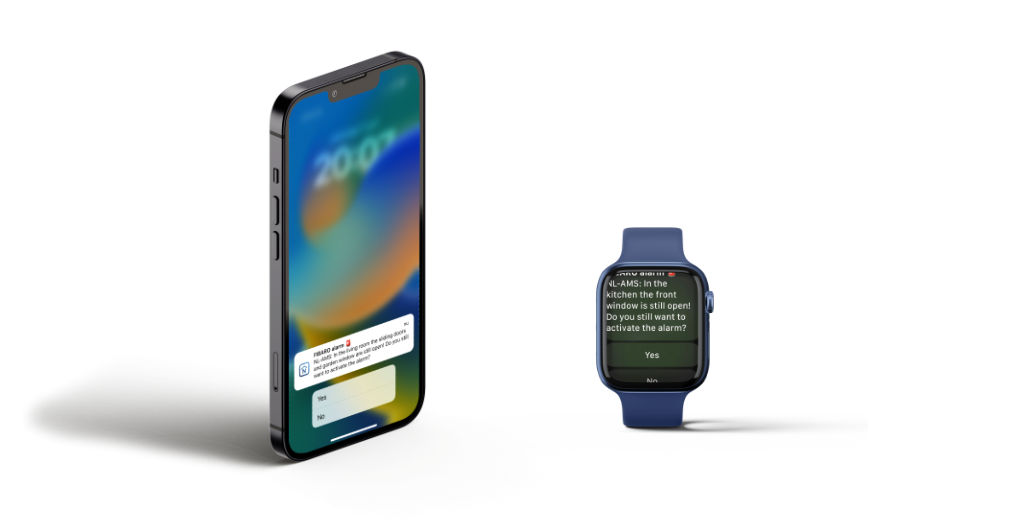
Before arming the alarm the scene checks if there are door or window sensors in open state and notifies you about it with an interactive push message. You can answer the message with a yes or no command to to arm the alarm even though a window or door is still open.
Prerequisites
The implementation consists of the following parts:
- A trigger to activate the alarm;
- My smart alarm activation scene that is started by the trigger;
- A simple scene that started when the user answered yes from the interactive push message that is sent when there are doors or windows still open;
Scene 1 installation
- Start your favorite browser and open your Home Center 3 dashboard by typing the correct URL for your HC3;
- Go to Settings -> 11. Scenes;
- Click the blue Add scene button to add a new scene;
- Choose the option Lua scene;
- Give the scene a name and click the Save button;
- In the ACTIONS block of the Lua scene, enter the code:
hub.alarm(“arm”):
- Click on the Save button;
- Now you can go back to the scene list by clicking on scene list button.
Scene 2 installation
- Click on the blue Add scene button to add a second scene;
- Choose the option Lua scene;
- Give the scene a name and click the Save button;
- Copy the Lua code from my smart alarm activation scene and paste it in the ACTIONS block;
- In the Declarations (Conditions/Triggers) block enter the trigger code that you want to use to activate the alarm;
- The screen then looks like this:
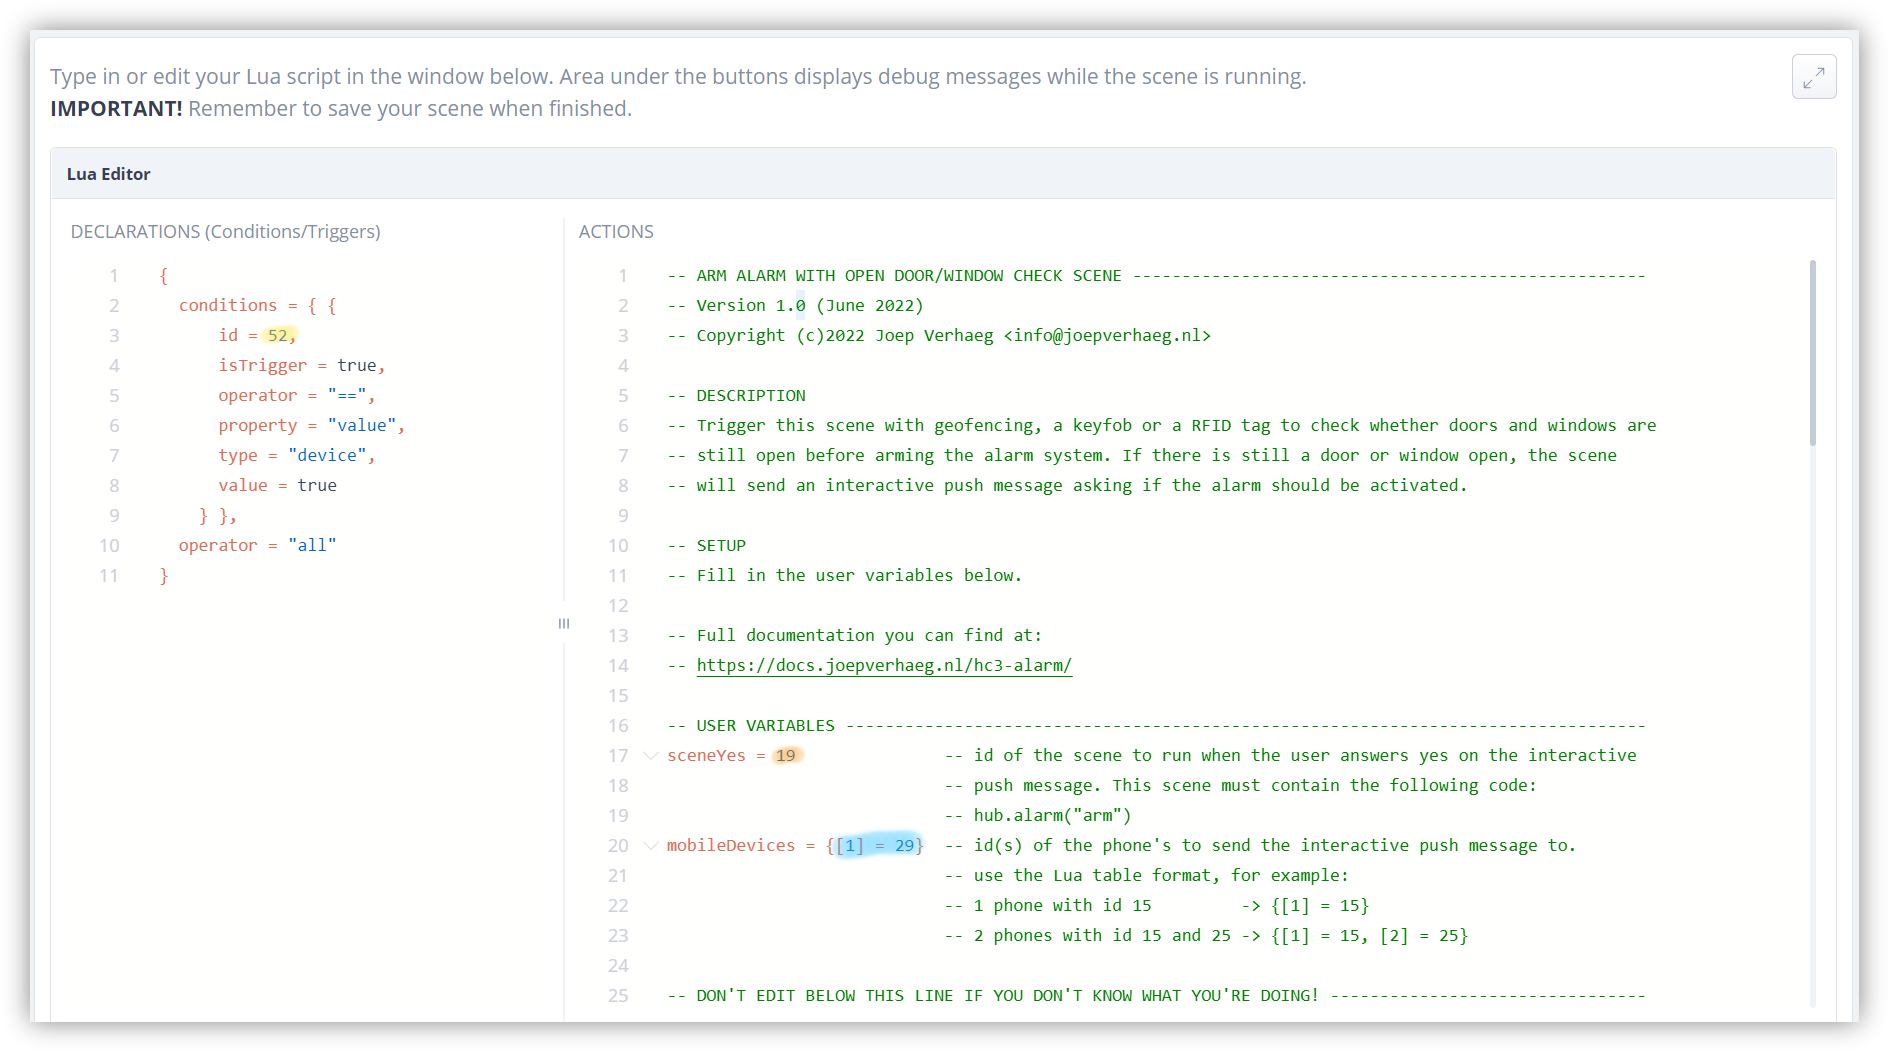
- Change the variable
sceneYesto the id of the first scene you have just created to activate the alarm (orange marked); - Change the variable
mobileDevicesin a Lua list with the mobile phone id’s from the people who want to receive the interactive push message if there are still doors or windows open (blue marked); - Click on the Save button.
Trigger configuration
In the example above, the alarm is activated by a RFID reader which is connected to a FIBARO Smart Implant. If a user holds his personal RFID card in front of the reader the smart implant sends a signal to the Home Center 3. You can capture this signal with the following condition in the Declarations (Conditions/Triggers) block:
 {
 conditions = { {
     id = 52,
     isTrigger = true,
     operator = "==",
     property = "value",
     type = "device",
     value = true
     } },
 operator = "all"
 }
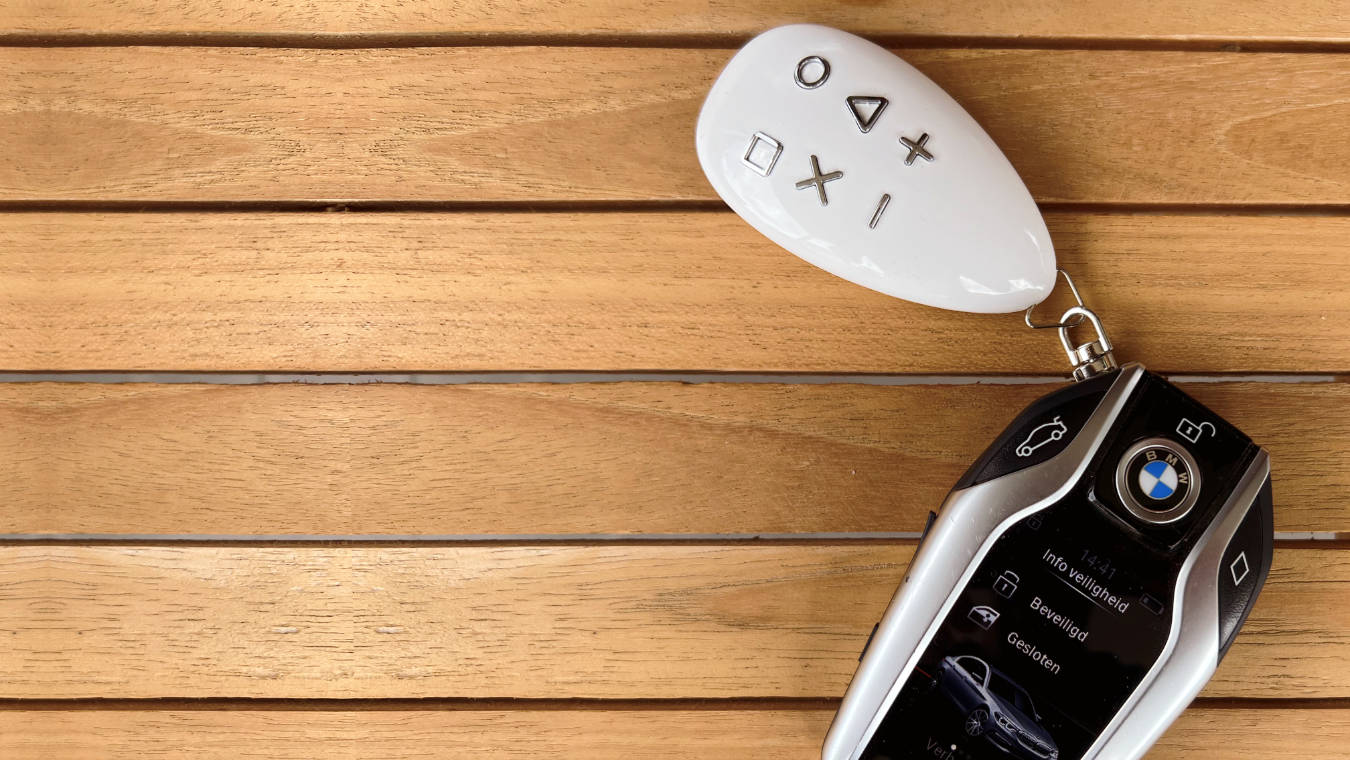
This trigger is free to configure. You can configure a FIBARO Keyfob button or set up geofencing.
Notice of Non-Affiliation
I’m not affiliated, associated, authorized, endorsed by, or in any way officially connected with FIBARO nor FIBARO Benelux, or any of its subsidiaries or its affiliates. All product and company names as well as related images are registered trademarks of their respective owners.
Explore more like this
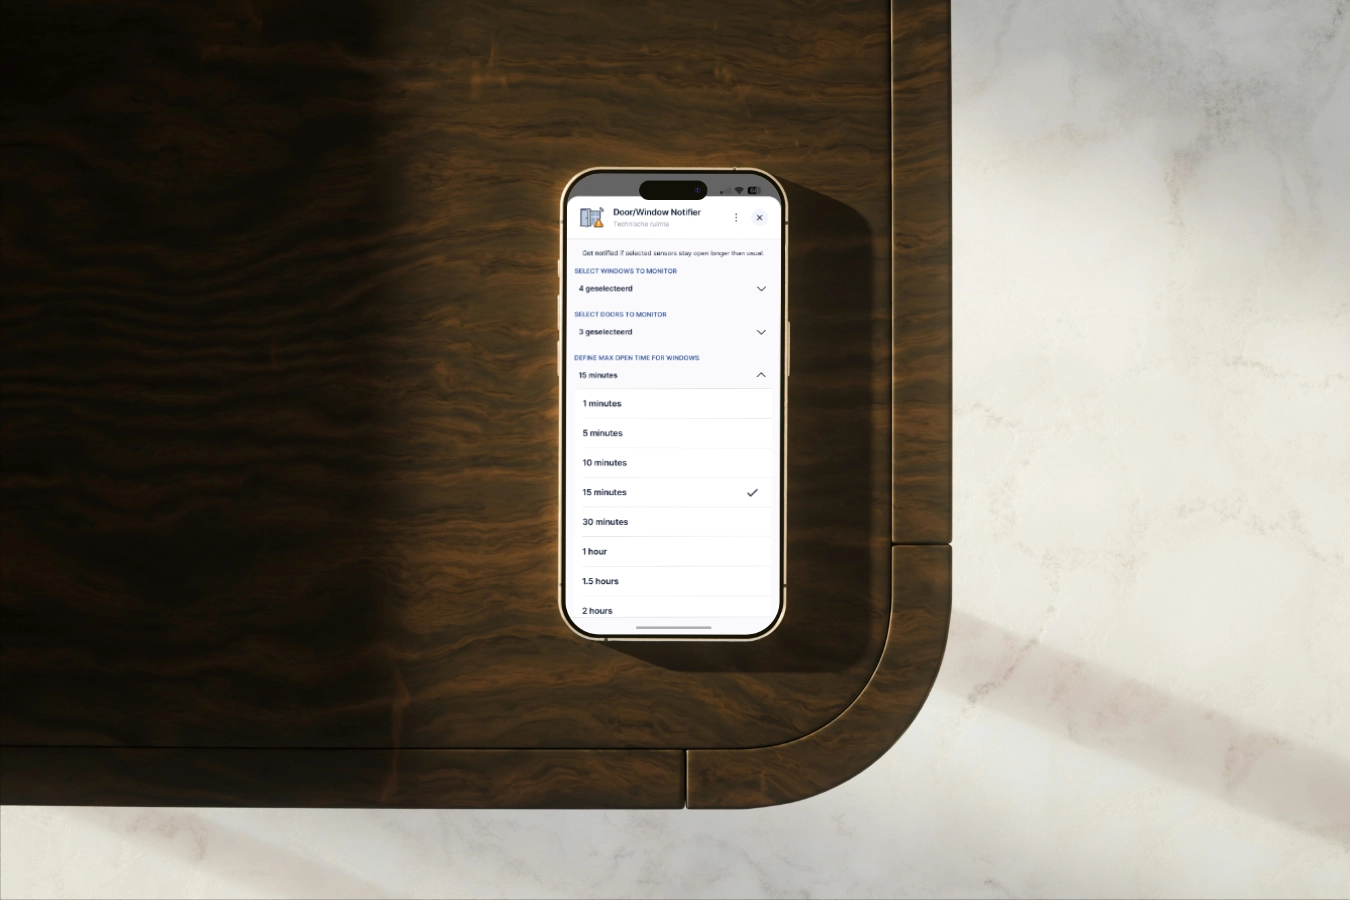
Window/Door Notifier QuickApp for HC3
We all like fresh air, but if the windows are open for too long, you are wasting energy because your HVAC is heating up the rooms for nothing.

Why I use Shelly next to my FIBARO devices in my smart home
Building a smart home can be overwhelming with so many devices and protocols to choose from. In this blog, I’ll share my experience why I use Shelly next to my...