HC3 Lua scenes part 3: sourceTrigger explained

In this blog I explain the usage of the special variable sourceTrigger that you can use in Lua scenes.
Summary
The Home Center 3 Lua engine comes with a special variable called sourceTrigger. You can use the sourceTrigger variable to make your scenes react differently based on different trigger parameters.
How does the sourceTrigger variable work?
The sourceTrigger variable is a Lua table that stores the trigger object that started the scene. The type property in the sourceTrigger variable is defined by one of the conditions I explained in Lua part 1 and is extended by a manual start of the scene.
The type property in the sourceTrigger table can have one of the following values:
- alarm
- climate
- custom-event
- date
- device
- global-variable
- location
- manual
- panic
- profile
- se-start
- user
- weather
How to view the contents of the sourceTrigger variable?
You can view the content of the sourceTrigger variable with the following code in your Lua scene:
for k,v in pairs(sourceTrigger) do
    hub.debug("Scene25", k .. ": " .. v)
end
I manually started the Lua scene with the example above and the output looks like:

The debug output shows you the following:
- The scene is started by the user (
type); - The
idof the user is2; - The
propertyisexecute.
If you program a condition to trigger the Lua scene when you turn on a light then the content of the sourceTrigger variable looks like:

This debug output is a little bit different and shows you the following:
- The scene is started by a device (
type); - The
idof the device is353; - The
propertywhich is used to check if the scene must be triggered isvalue; - The
valuethat triggered the scene istrue(light turned on).
How to use the sourceTrigger variable?
Now that you know the function of the sourceTrigger variable, I’ll show you how use it 2 real world examples:
- Check if a scene is started by sunrise;
- Check which key is pressed on a FIBARO Keyfob.
 Photo by Portuguese Gravity on Unsplash
Check if a scene is triggered before sunrise
In this example you are going to create a single Lua scene that turns on the outdoor light at 75% dim level, 30 minutes before sunrise and turns the same light off exactly at sunrise.
First you have to create the condition to trigger the scene 30 minutes before sunrise and exactly at the time when the sun is up:
{
  conditions = { {
      isTrigger = true,
      operator = "==",
      property = "sunrise",
      type = "date",
      value = 0
    },
    {
      isTrigger = true,
      operator = "==",
      property = "sunrise",
      type = "date",
      value = -30
    }, },
  operator = "any"
}
In the actions section of the scene editor you can check if the scene is triggered by the sunrise property and then check if value of the sourceTrigger to determine if the scene was triggered 30 minutes before or exact at sunrise:
if sourceTrigger.property == "sunrise" then
	if sourceTrigger.value == -30 then
		-- 30 minutes before sunrise
		hub.call(353, "setValue", 75)
	elseif sourceTrigger.value == 0 then
	  -- at sunrise
		hub.call(353, "turnOff")
	end
end
Note: the check if the scene is triggered by the sunrise property is optional in this example. Because you added the sunrise property as the only condition to trigger the scene. I added this check to show you the possibilities of using it.
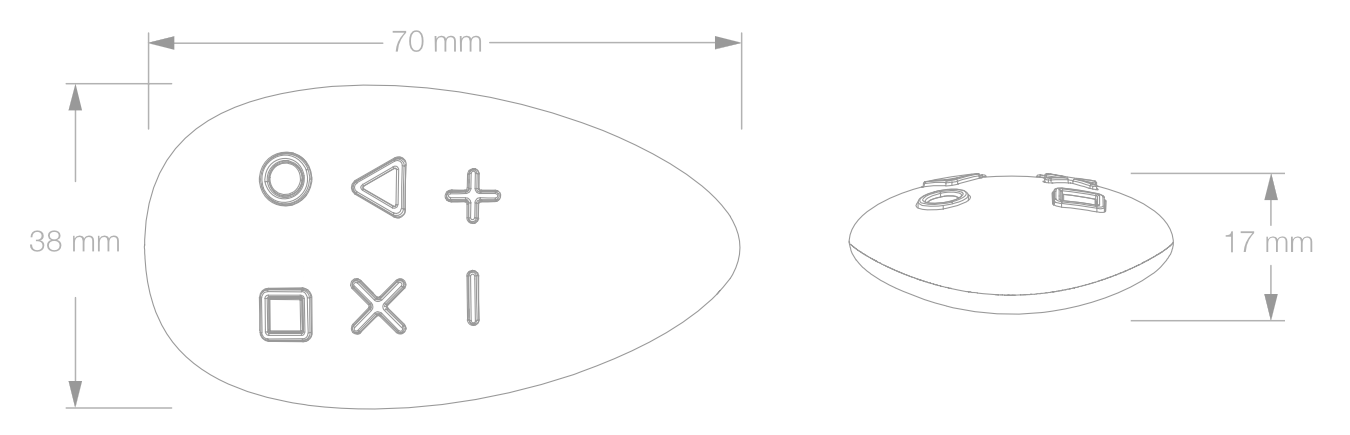
Detect which Keyfob button is pressed in a Lua scene
Another common example is to check which button is pressed on a FIBARO Keyfob in a single Lua scene. The value property in the sourceTrigger object is a bit different while using the Keyfob or The Button:
{
  type = "device",
  value = {
    keyId = 1,
    keyAttribute = "Pressed"
  },
  id = 354,
  property = "centralSceneEvent"
}
The value property stores the keyId from the key you pressed on the Keyfob and the keyAttribute stores how you pressed the button, like: pressed once, twice or held down.
In the actions section of the scene editor you can read the keyId and keyAttribute properties and use an if statement to start different actions based on how you pressed one of the buttons on the Keyfob:
local keyPressed = sourceTrigger.value.keyId
local pressCount = sourceTrigger.value.keyAttribute

if keyPressed == 1 then
    hub.debug("Scene26", "Pressed key 1")
elseif keyPressed == 2 then
	if pressCount == "Released" then
		hub.debug("Scene26", "Long pressed key 2")
	end
end
How to detect an HC3 automatic or manual scene trigger?
What I use the sourceTrigger variable a lot for is detecting whether the scene was started automatically or manually. For example my good morning scene can be started by my motion sensor, or I start it with the Yubii app. When the scene is started by the motion sensor it checks first if the wake-up alarm has gone off. With a manual start I don’t want that and just turn some lights on. An excerpt from my Lua code looks like:
if sourceTrigger.type == "device" then
	local wakeupYesNo = tonumber(getQaVariable(43, "wakeupYesNo"))
	if wakeupYesNo == "yes" then
		hub.call(25, "turnOn")
	end
else
	hub.call(25, "turnOn")
end
If above scene code is triggered by the motion device it first checks if my virtual alarm set the Quick App variable wakeupYesNo to yesand then turn on the light. When I run the scene with the Yubii app the sourceTrigger.type has the value user that causes the code to skip the virtual alarm check.
Previous part: Variables explained
In the previous module, I’ll learn you about the different types of variables that are available in the HC3 and how you use these variables in Lua scenes or in a Quick App.
Next part: setTimeOut vs Sleep explained explained
In the next module, I’ll learn you about the difference of the setTimeOut and Sleep functions that you can use in Lua scenes.
Explore more like this
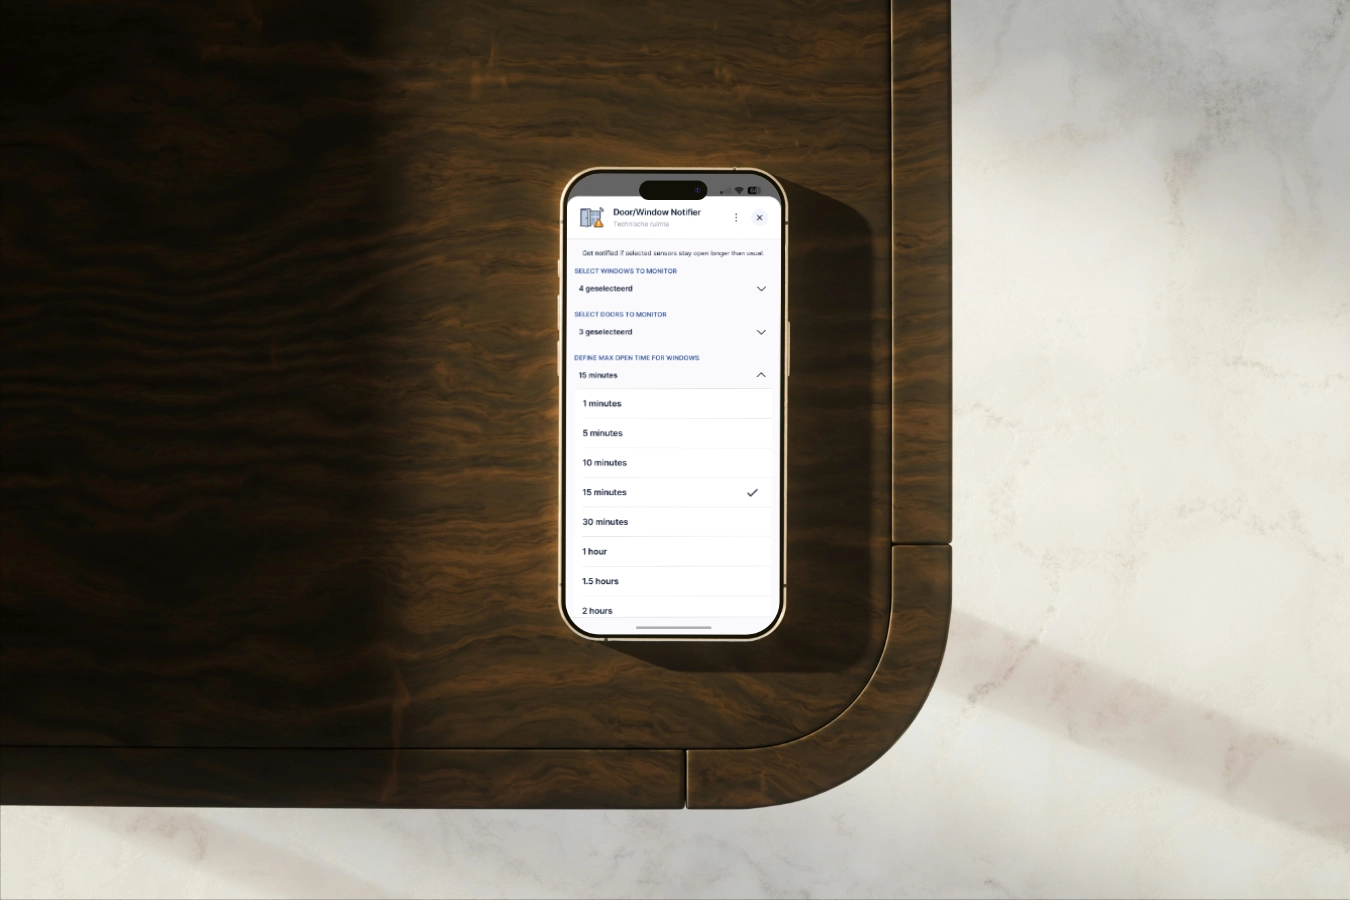
Window/Door Notifier QuickApp for HC3
We all like fresh air, but if the windows are open for too long, you are wasting energy because your HVAC is heating up the rooms for nothing.

Why I use Shelly next to my FIBARO devices in my smart home
Building a smart home can be overwhelming with so many devices and protocols to choose from. In this blog, I’ll share my experience why I use Shelly next to my...