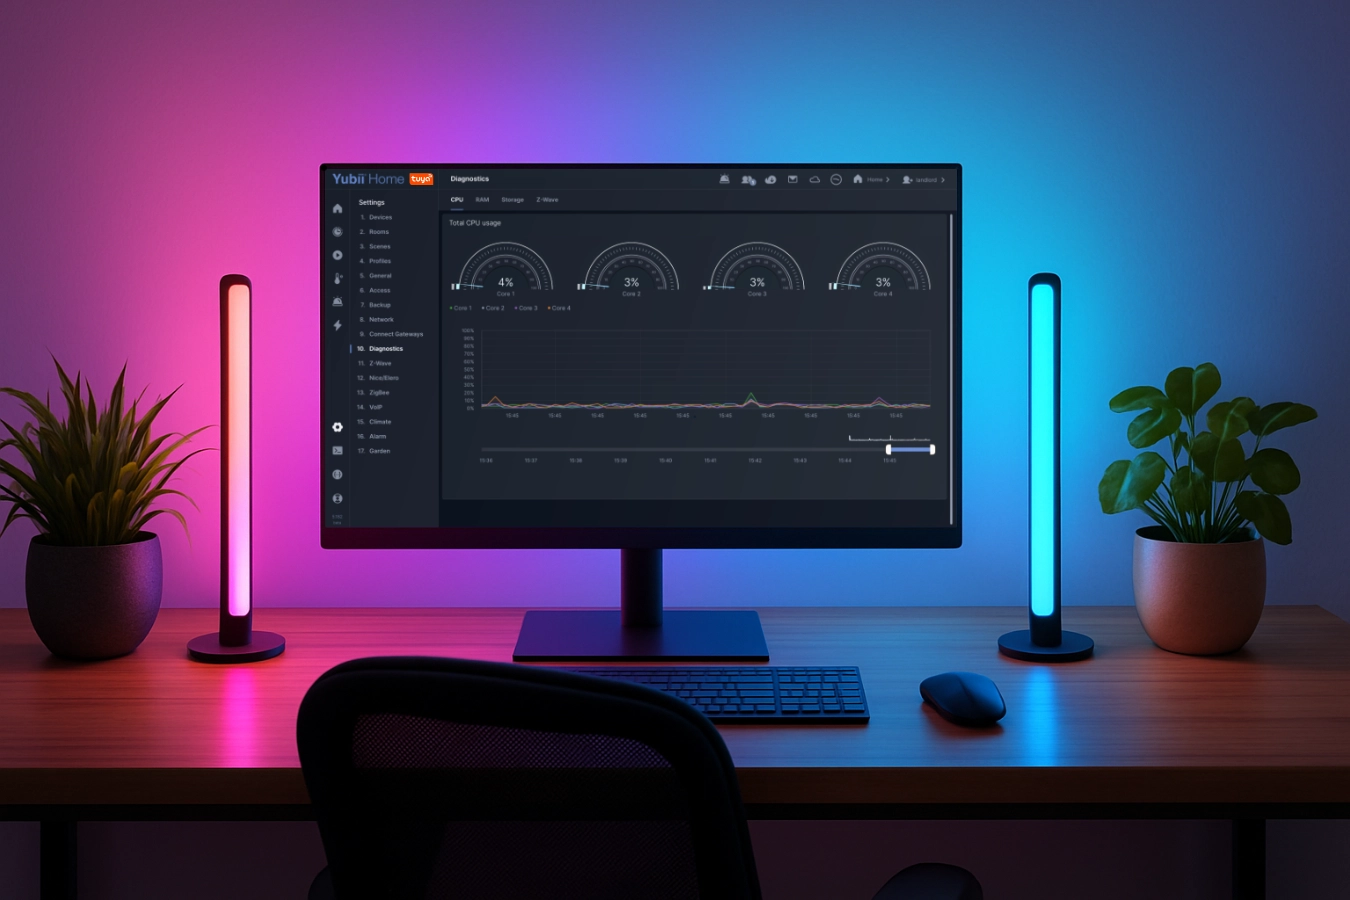
Somfy TaHoma Home Center 3 integration
In this blog I’ll show you the Quick App I created to connect to the TaHoma switch ecosystem via the Somfy API.
Summary
💡 A new version of this Somfy TaHoma Quick App is released and available via JDK Benelux. The Quick App is re-written from the ground up and uses the official Somfy local API. It supports RTS and IO (2 way commmunication) devices like Awning, Exterior Screen, Exterior Venetian Blind, Garage Door, Pergola, Roller Shutter, Screen, Venetian Blind, Plug IO, Sun sensor IO and Window. 💡
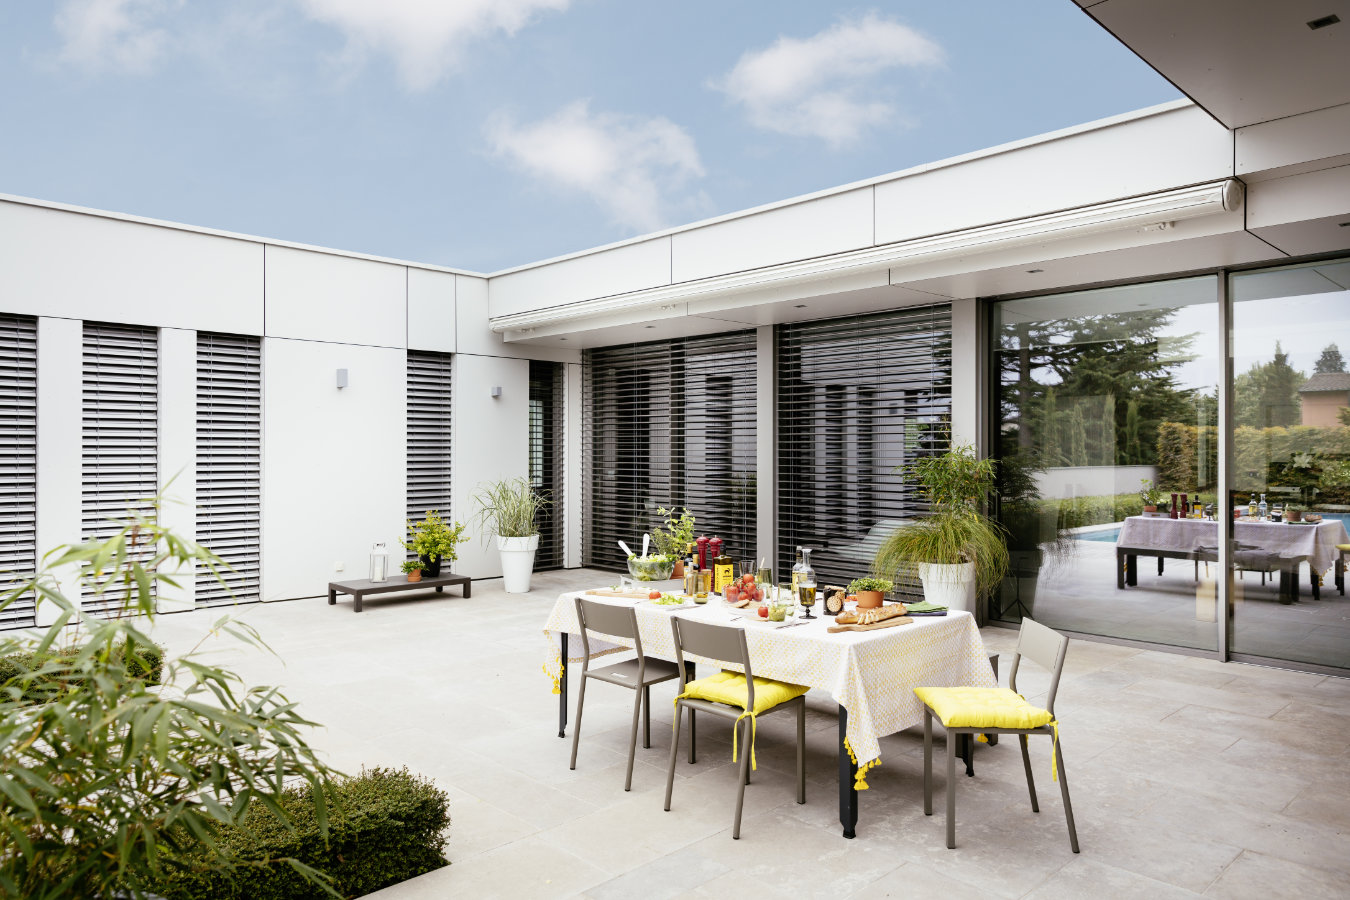
To come straight to the point, every smart home owner who has Somfy equipment wants to have it connected to his Home Center 3 in order to integrate the devices into scenes and build cool automations with it. Integrating a Somfy product with the Home Center 3 is not that easy, but I managed to create a Quick App to integrate the TaHoma switch!
How Somfy works with the HC3
The Roller Shutter 3 Z-wave module made by FIBARO allows you to control electric blinds, awnings, roller shutters, roller blinds, and gates with the HC3. For Somfy devices this module is not an option, so I created a Quick App that reads the Somfy devices from the TaHoma switch box and creates child devices with the com.fibaro.rollerShutter device type. This allows you to control the devices in almost the same way the Roller Shutter 3 Z-wave module does.
The Quick App is tested with the following device types:
- Awning
- Exterior Venetian Blind
- Garage Door
- Pergola
- Roller Shutter
- Screen
- Venetian Blind
- Plug (IO)
- Window
- Sun sensor (IO)
- Motion Detector (IO)
- Thermis Temperature Sensor (iO)
- Velux screen components
Installation
Prerequisites
Before you can integrate your Somfy devices into the Home Center 3 (HC3) you must meet the following prerequisites:
- You need a TaHoma switch,
- Your Somfy devices needs to be configured and connected to the TaHoma switch via the TaHoma app,
- My Somfy TaHoma Quick App installed on your HC3.
Quick App installation
- Start your favorite browser and open your Home Center 3 dashboard by typing the correct URL for your HC3,
- Go to Settings and Devices,
- Click the blue + icon to add a new device,
- In the Add Device dialog click on Other Device,
- Choose Upload File and upload the
.fqaxfile found at the FIBARO Benelux Store. - Additionally you can change the icon of the Quick App with the attached icon.
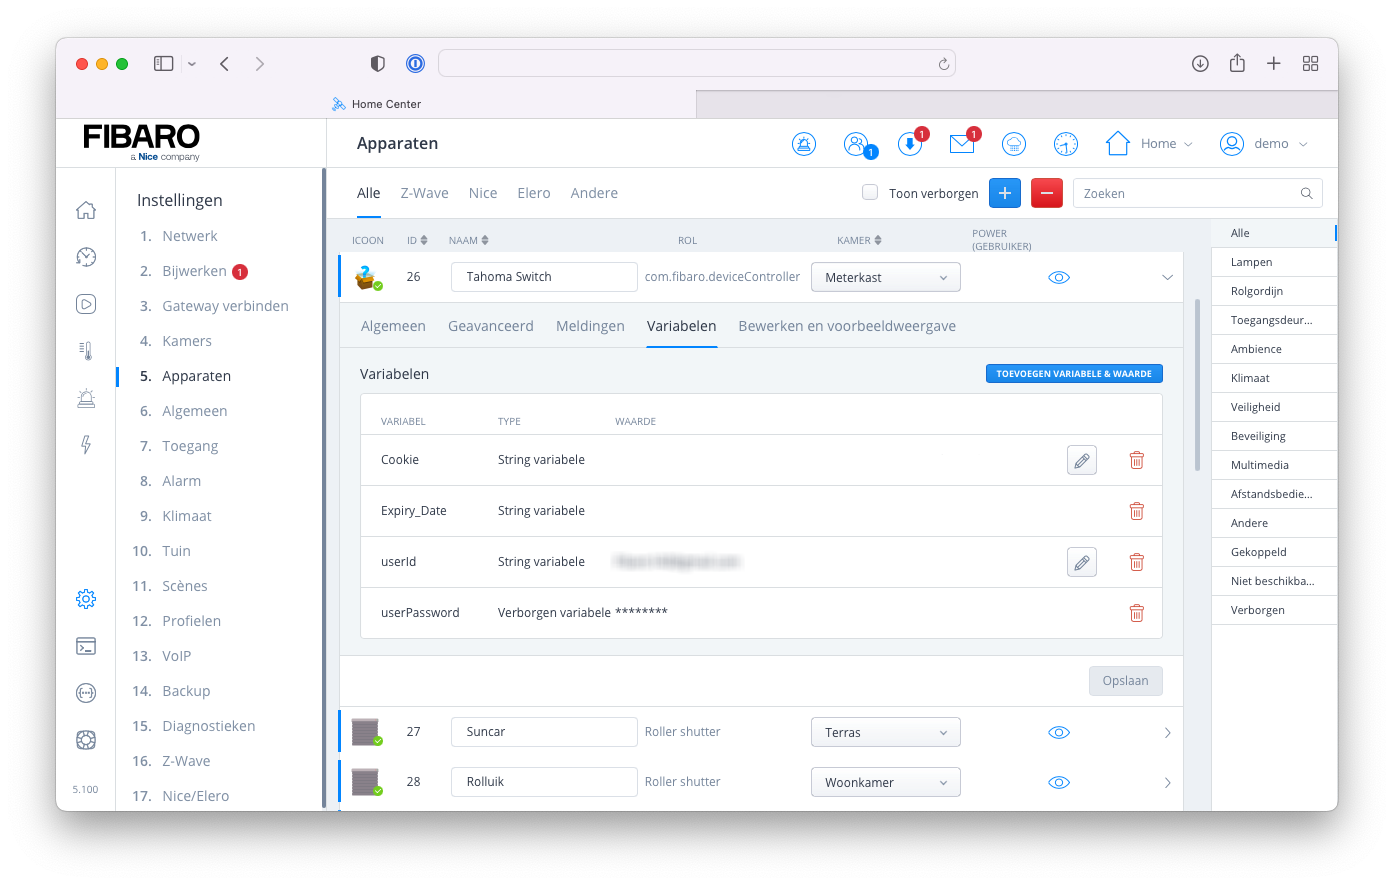
Quick App configuration
- Go to Settings and Devices,
- Expand the imported Tahoma Switch device,
- Select the Variables tab,
- Fill in the userid and userPassword fields with the credentials you use to login the TaHoma app on your phone or tablet.
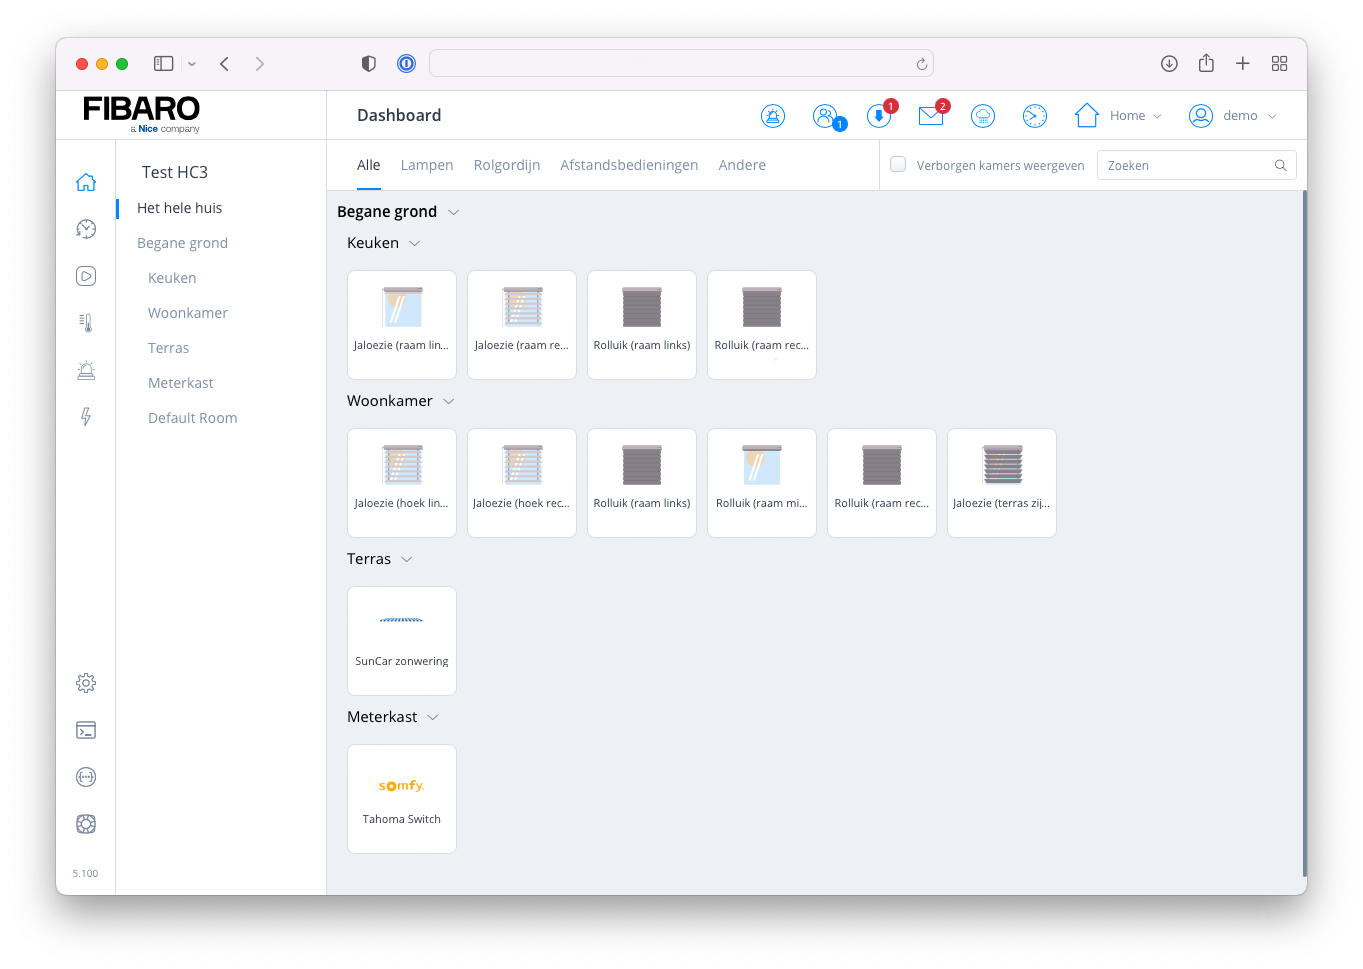
- If you press the blue Save button the Quick App will be initialised, reads all devices from the TaHoma box and automatically creates child devices in your HC3.
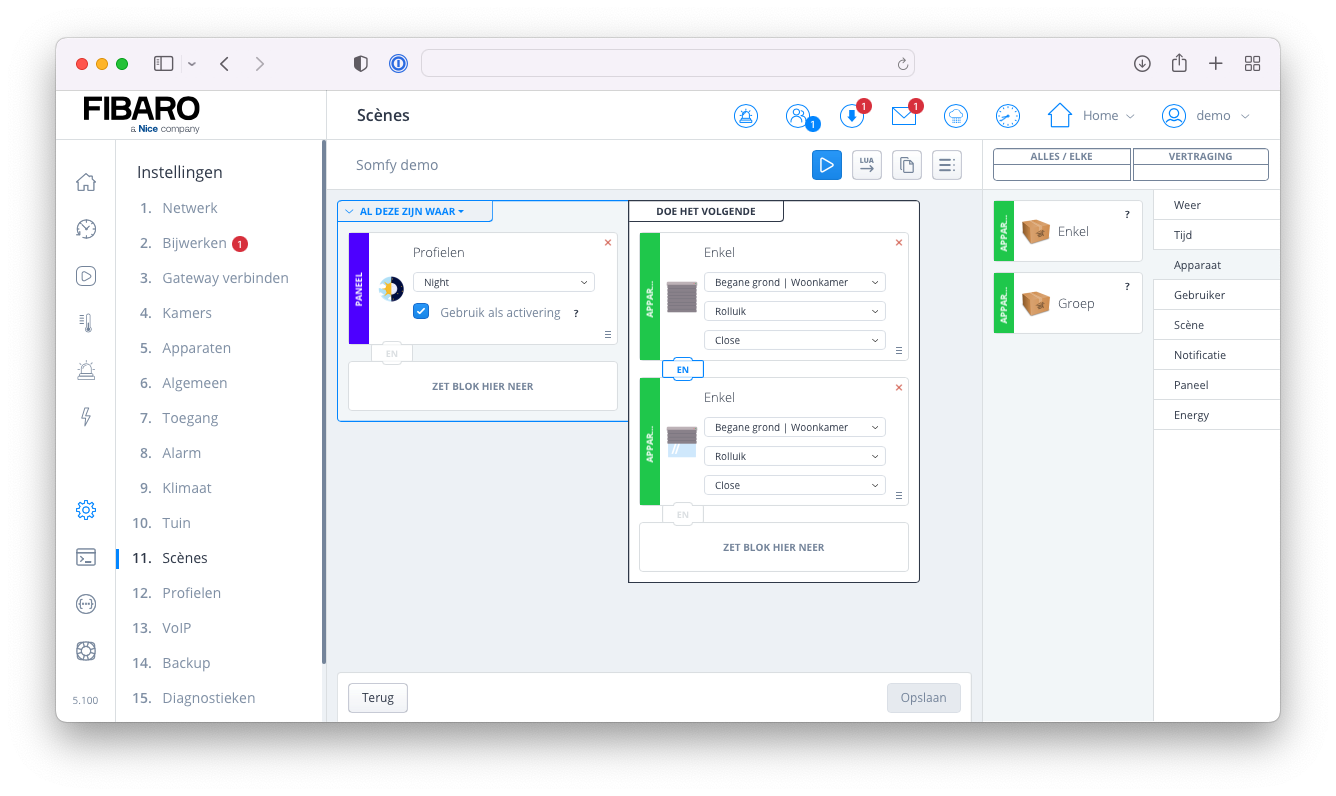
Block scene example
With motorised roller shutters you don’t have to keep manually changing your blinds when you go to bed at night. With this example I’ll show you that my Quick App fully supports block scenes by creating a block scene to close the roller shutters when you activate the Night profile in the HC3:
Lua scene example
In this example I’ll show you how to automatically lower your exterior screens when the sun gets strong by reading the current UVI value from my Ventus W830 weather station:
local uvi = fibaro.getValue(50) -- read the current UVI
if uvi > 4 then
	fibaro.call(60, "close") -- send close to the
end
This will automatically maintain an optimal temperature inside your home with just 4 lines of code!
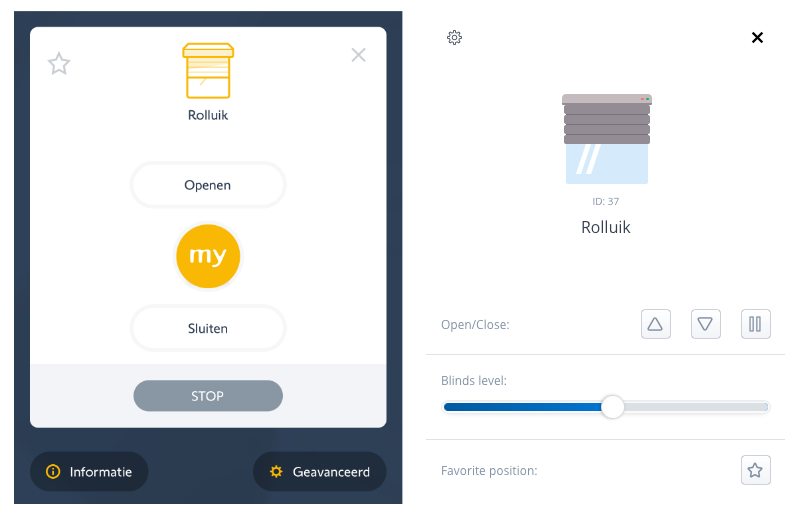
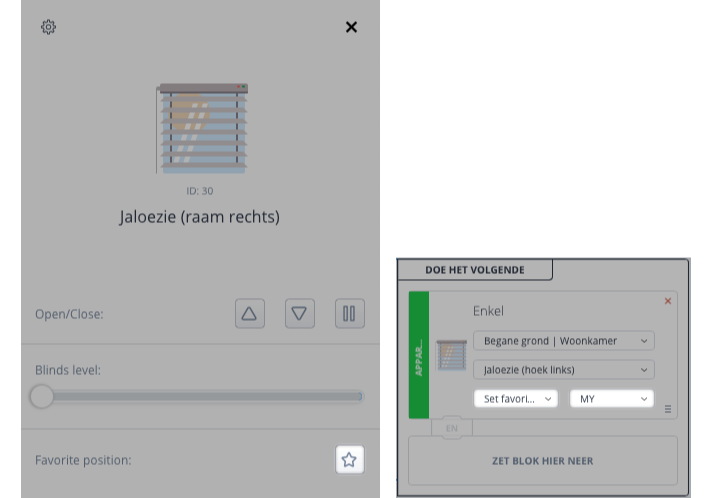
Using the “My” (or favorite) position
Somfy remotes have a my button to easily set your blinds to a favorite position. In the Quick App I mapped the Favorite position button of the child devices to the my button action. Most Somfy devices are based on the RTS protocol and don’t allow to set a certain level. By assigning a favorite position to your my button you can still set your blinds to a certain position in a Home Center 3 scene.
Support
The Somfy API may change in the future and I try to support as many devices as possible with the Quick App.
Explore more like this
Window/Door Notifier QuickApp for HC3
We all like fresh air, but if the windows are open for too long, you are wasting energy because your HVAC is heating up the rooms for nothing.

Why I use Shelly next to my FIBARO devices in my smart home
Building a smart home can be overwhelming with so many devices and protocols to choose from. In this blog, I’ll share my experience why I use Shelly next to my...