HC3 Lua scenes part 1: Conditions explained

The learning curve of the conditions is high for most people. That is why in this blog I explain how to write a condition using a practical example.
Summary
- How triggers and conditions work in Lua scenes?
- Lua condition device example
- How the isTrigger parameter works
- How time and date conditions work in Lua scenes
- How to run a Lua scene at a specific interval
- Lua condition alarm example
- Learn more about creating Lua scenes with the HC3
- Next part: Variables explained
How Lua conditions work is very well documented on the FIBARO manuals website. But despite that I still get a lot of questions about this topic in writing Lua scenes.
How triggers and conditions work in Lua scenes?
Lua scenes can be triggered automatically after a condition is met or an event occurs in the Home Center 3. This can be a device that is turned on or a temperature sensor that reaches a certain value.
This example shows what a condition looks like:
{
    type = "device",
    id = 201,
    property = "value",
    operator = "==",
    value = true,
    duration = 30,
    isTrigger = true
}
Fields
In the following steps I will explain how the HC3 Lua scene conditions are constructed. You interpret the fields of a condition in the following way:
| Field | Description |
|---|---|
type |
The type of the event. See the table below. |
id |
The id of the device if the type has an id, like a device (optional). |
property |
The property the scene is waiting to be changed. A value for example. |
operator |
A logical operator to check if a condition is true. |
value |
The value that the scene expects for the logical operator to be true |
duration |
Time in seconds of how long the value must be set to match the condition or trigger the scene. (default is 0) |
isTrigger |
Indicates if the scene must be started when the condition is true. |
Types
The type field can contain the following values to trigger a scene:
| Type | Description |
|---|---|
device |
Device property change. |
date |
Based on time and date. |
weather |
Based on Weather conditions. |
location |
User location. |
custom-event |
Custom events (out of scope of this blog) |
alarm |
HC3 based alarm. |
se-start |
HC3 start trigger (out of scope of this blog) |
profile |
Profile change |
manual |
Manual start of a scene. |
Logical operators
The HC3 uses logical operators to check if a condition is true and then runs the Lua code in the ACTION block that defines your scene:
| Operator | Description |
|---|---|
== |
Checks if the values of two operands are equal or not. If yes, then the condition becomes true. |
!= |
Checks if the values of two operands are equal or not. If the values are not equal, then the condition becomes true. |
> |
Checks if the value of left operand is greater than the value of right operand. If yes, then the condition becomes true. |
>= |
Checks if the value of left operand is greater than or equal to the value of right operand. If yes, then the condition becomes true. |
< |
Checks if the value of left operand is less than the value of right operand. If yes, then the condition becomes true. |
<= |
Checks if the value of left operand is less than or equal to the value of right operand. If yes, then the condition becomes true. |
anyValue |
Match any value |
Lua condition device example
This condition triggers the scene when your temperature sensor with id 332 indicates exactly 15 degrees:
{
  conditions = {
	{
      id = 332,
      isTrigger = true,
      operator = "==",
      property = "value",
      type = "device",
      value = 15
    }
},
  operator = "any"
}
Imagine that you want to start the scene to close the window when it’s open and the temperature drops below the 15 degrees. So in this example you want to run the scene when:
- The temperature is exact
15degrees; - The window is open (with id
225).
To create this condition we add the window sensor to the condition:
{
  conditions = {
    {
      id = 332,
      isTrigger = true,
      operator = "==",
      property = "value",
      type = "device",
      value = 15
    },
    {
      id = 225,
      isTrigger = false,
      operator = "==",
      property = "value",
      type = "device",
      value = true
    },
  },
    operator = "all"
  }
How the isTrigger parameter works
What you might notice is that the parameter isTrigger on the window sensor is set to false. The isTrigger parameter determines whether the scene is started based on this parameter, or whether only the condition must be met.
You can also see that the operator parameter in this example is set to all. The operator parameter determines whether all conditions must be fulfilled, or whether only 1 of the conditions must be fulfilled to start the scene.
The operator is often overlooked when people ask me for help when a Lua scene is not working properly. Let me explain it to you with a table:
| Operator | Description |
|---|---|
any |
At least one of the triggers/conditions must be met. |
all |
All of the triggers/conditions must be met. |
For example a condition with the any operator for a scene triggered at sunset and at 7:30 looks like:
{
   conditions = {
      {
        type = "date",
        property = "sunset",
        operator = "==",
        value = 0,
        isTrigger = true
      },
      {
        type = "date",
        property = "cron",
        operator = "match",
        value = {"30", "7", "*", "*", "*", "*"},
        isTrigger = true
      }
   },
   operator = "any"
}
Because the operator is set to any the scene is started at sunset and at 07:30. This is useful when you want to turn a outdoor light on at sunset, turn it off at bedtime and want it to automatically turn it on again at 07:30.
How time and date conditions work in Lua scenes
 Photo by Luke Chesser on Unsplash
Time and date conditions look complex, but are actually very easy. It is derived from the UNIX cron format, familiar to many system administrators and programmers.
The cron expressions can be as simple as this (to run every day at 10:00):
value = {"0", "10", "*", "*", "*","*"}
Or more complex like this (to run every Monday, Wednesday and Friday):
value = {"*", "*", "*", "*", "1,3,5", "*"}
The expression is a string comprised of 6 fields separated by a comma. The fields can contain any numeric values, along with comma separated values for that field. The value is constructed with the following fields:
value = {"minutes", "hours", "day of the month", "month", "day of the week", "year"}
To help you on your way, I have worked out some examples in the following table:
| Expression example | Description |
|---|---|
{"30", "8", "1", "1", "*","*"} |
Run scene at 08:30 on new years day. |
{"30", "14", "*", "*", "1,3","*"} |
Run scene at 14:30 every Monday and Wednesday. |
{"*", "*", "28", "*", "*","*"} |
Run scene every 28th day of the month. |
{"0", "19", "*", "*", "7","2024"} |
Run scene at 19:00 at the first Sunday of 2024. |
Now that you understand how to construct the time and date condition, let zoom in on the operator notation part in the condition. The operator is used to check if the current date matches a condition with the date in the value field:
| Operator | Description |
|---|---|
match |
Checks if the current date and the date in the condition are equal or not. In this operator we can use "*" which means any match. |
match== |
Checks if the current date and the date in the condition are equal or not. If yes, then the condition becomes true. |
match!= |
Checks if the current date and the date in the condition are equal or not. If they are not equal, then the condition becomes true. |
match> |
Checks if the current date is later then the date in the condition. If yes, then the condition becomes true. |
match>= |
Checks if the current date is later or equal then the date in the condition. If yes, then the condition becomes true. |
match< |
Checks if the current date is earlier then the date in the condition. If yes, then the condition becomes true. |
match<= |
Checks if the current date is earlier or equal then the date in the condition. If yes, then the condition becomes true. |
The following condition runs the Lua scene every day between 12:00 and 13:00:
{
	conditions = {
	{
		type = "date",
		property = "cron",
		operator = "match>=",
		value = {"0", "12", "*", "*", "*","*"}
	},
	{
		type = "date",
	property = "cron",
	operator = "match<",
	value = {"0", "13", "*", "*", "*","*"}
	}
},
	operator = "all",
}
Because the operator is set to all both time conditions must be met to run the scene.
How to run a Lua scene at a specific interval
Sometimes you want to run a scene every 5 minutes. To achieve this you have to create a condition with a start time like explained in the previous chapter and use the operator matchInterval. In the value field you define an interval in seconds. So to start a scene every 5 minutes (300 seconds) from May 1, 2023 at 12:00 you enter the following condition:
{
    type = "date",
    property = "cron",
    operator = "matchInterval",
    value = {
        date = { "0", "12", "1", "5", "*", "2023" },
        interval = 300
    },
    isTrigger = true
}
Lua condition alarm example
You can use the alarm type to trigger a Lua scene when an alarm zone is breached. Conditions for the HC3 alarm (zones) use a property parameter besides the operators, values and isTrigger as described above. The properties that you can use are:
| Property | Description |
|---|---|
armed |
Checks if a zone with given id is armed. |
breached |
Checks if zone with given id is breached. |
homeArmed |
Check if alarm for whole house is armed. |
homeBreached |
Check if alarm in house is breached. |
To start a Lua scene when the whole house is armed you can write the following condition:
{
	conditions = {
	{
    type = "alarm",
    property = "homeArmed",
    operator = "==",
    value = true,
    isTrigger = true
	}
},
	operator = "all",
}
Or if you want to run a Lua scene when the alarm in your house is breached:
{
	conditions = {
	{
    type = "alarm",
    property = "homeBreached",
    operator = "==",
    value = true,
    isTrigger = true
	}
},
	operator = "all",
}
I wrote an example for an interactive alarm activation scene that you can use or learn from. If you want to build an alarm system with the Z-Wave door- and motion sensors in your house, I recommend my article that shows you in depth how to build an alarm system with the Home Center 3.
Learn more about creating Lua scenes with the HC3
I gave you some common used examples to create conditions, but there is more possible with the HC3 condition engine. The following manuals I recommend to read when you start building Lua scenes with your Home Center 3 or if you want to get more advanced at it:
- Home Center 3 / Yubii Home – Lua Scenes Manual
- Convert Home Center 3 block scenes to Lua
- Scenes and Interface FIBARO forum
Next part: Variables explained
In the next module, I’ll learn you about the different types of variables that are available in the HC3 and how you use these variables in Lua scenes or in a Quick App.
Explore more like this
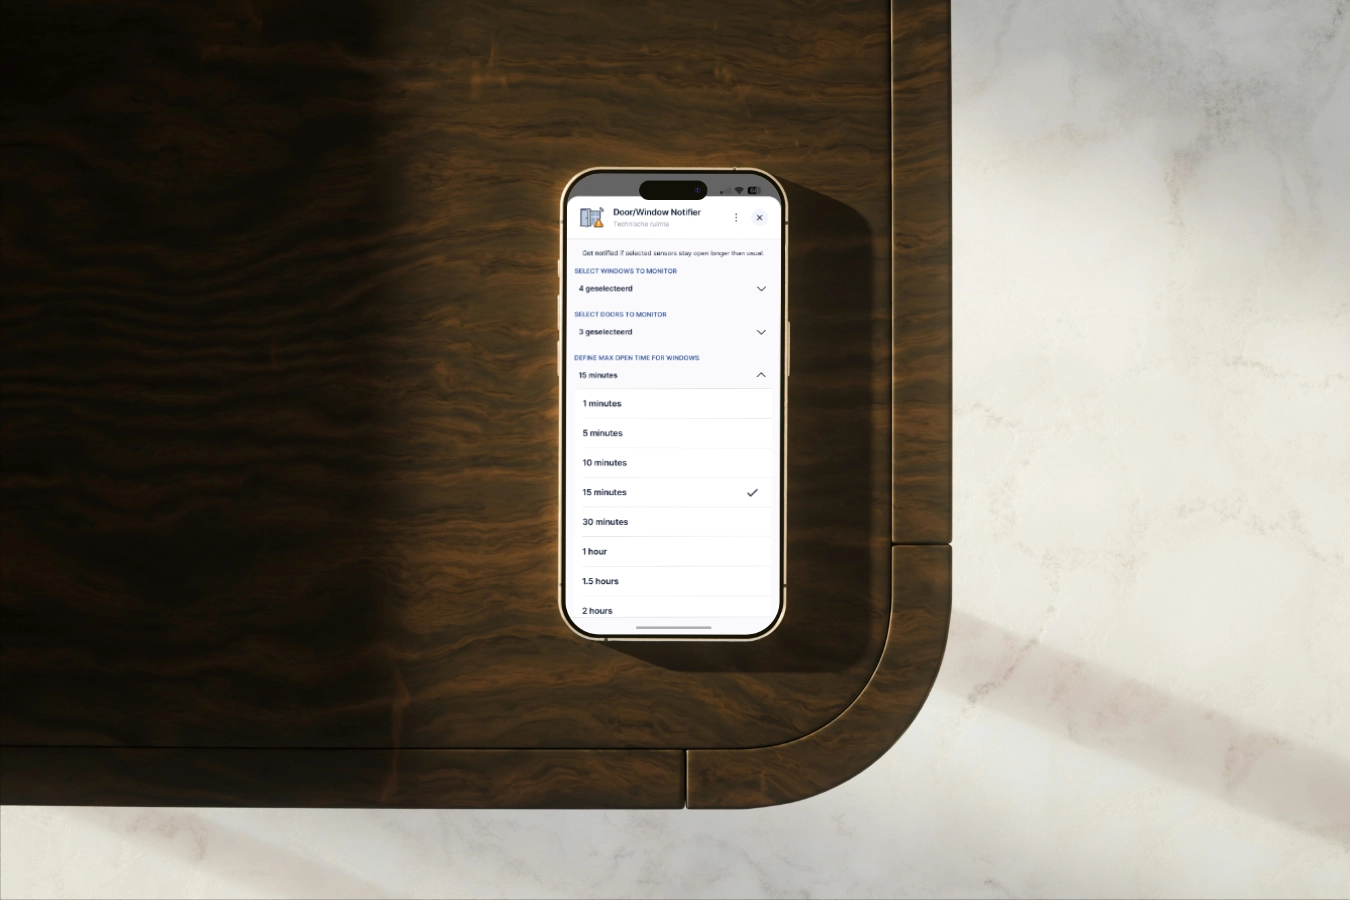
Window/Door Notifier QuickApp for HC3
We all like fresh air, but if the windows are open for too long, you are wasting energy because your HVAC is heating up the rooms for nothing.

Why I use Shelly next to my FIBARO devices in my smart home
Building a smart home can be overwhelming with so many devices and protocols to choose from. In this blog, I’ll share my experience why I use Shelly next to my...