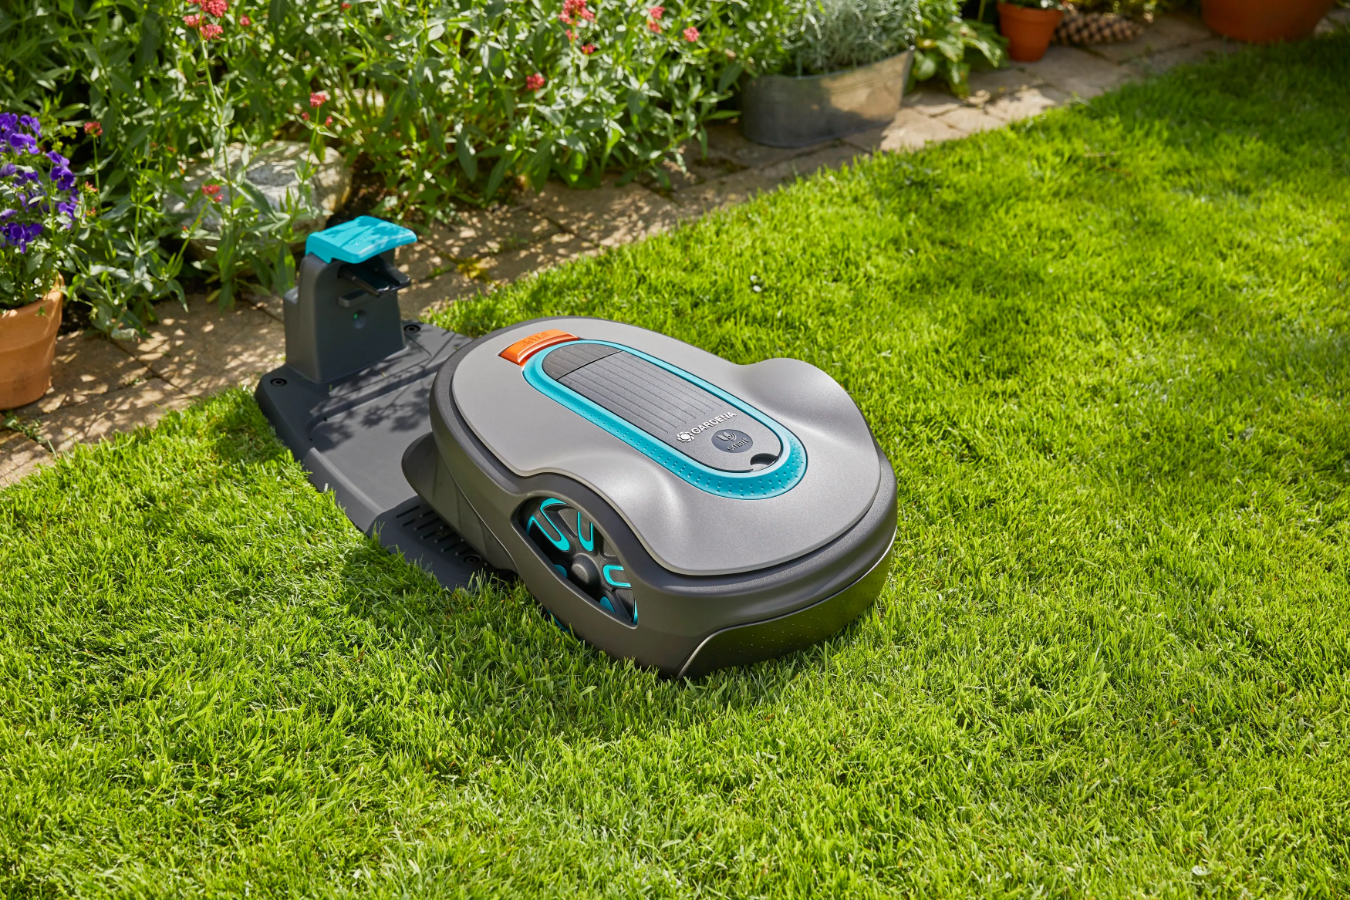
Intelligent rain detection for your Gardena robotic lawnmower
Control your Sileno robotic lawnmower with the Fibaro Home Center 2
Summary
The Gardena SILENO Robotic Lawnmowers have no rain sensor, they just work in the rain. Amazing technology but when there is a rainstorm it’s safer to park the mower. I can program a LUA scene in the Fibaro Home Center to look at the weather forecast and park the mower when rain is expected, but forecast changes a lot here in The Netherlands. I found that BuienRadar is accurate and they have a public API (for non commercial use). BuienRadar gives me current rain conditions in mm/h in 5 minute intervals for the next 2 hours. With this information I can anticipate on the amount of rain and decide if the mower needs to be parked.
Goals
- Temporary park my lawnmower when there is more than 2 mm/h rain.
- Park my lawnmower for 8 hours then there is a rainstorm.
- When the rain gets worse, park my lawnmower for 8 hours.
TL;DR
- Connect to the Gardena Smart System API to read the status of my lawnmower.
- Check the BuienRadar.nl API every 5 minutes for information about rain.
- Decide to park the lawnmower according to the amount of rain.
How I implemented it
In words
Fibaro Forum user Barlow did an amazing job by creating a Virtual Device for the Gardena Smart System. But for my intelligent rain detection it is to extensive. I like to utilize only the things I need in my Smart Home to keep the network communication and processing power as low as possible. Therefore I used his LUA scene as a reference and made my own.
The BuienRadar API is public (for non commercial use) and combining these two API’s with the Fibaro Home Center I can act on rain accuratly.
Before you start
- Get the latitude and longitude coordinates for the location your lawnmower is working. You can use the website latlong.net for it.
- Make sure the iOS or Android Gardena App is working on your smartphone and have the login information at hand.
Step 1: Import the Mower Control Virtual Device
Getting the Virtual Device file
Download the Virtual Device file from my GitHub.
Import the Virtual Device file
- Log in to your Fibaro Home Center 2 with admin credentials.
- Click on the Devices tab in top panel and then on Add or remove device button in the left sidebar.
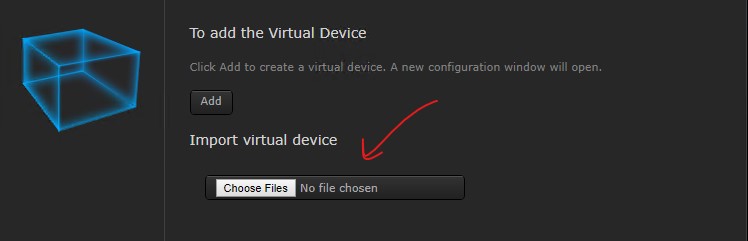
- Click in the Add Device screen on the Choose Files button in the To add the Virtual Device section.
- Select the
MowerControl.vfibfile you just downloaded.
Configure the Virtual Device
When the import has finished you can give it a Name and assign it to a Room. I’ll skip the advanced configuration for now, because first you have to create a new LUA scene in the next section to get a scene id to configure the Virtual Device buttons.
Get the ID of the Virtual Device
The easiest way to get the id of the Virtual Device is to look in the address bar of your browser. After the substring id= you’ll find the id of your new Virtual Device. The screenshot below shows an id of 182:

Remember the id, or write it on a piece of paper for the next step when you implement the LUA scene.
Step 2: Create a Global Variable
Create a Global variable in your Home Center 2 Variables Panel at http://192.168.1.2/fibaro/en/panels/variables.html with the name MowerPushSend.
Step 3: Create a Mower Control LUA scene
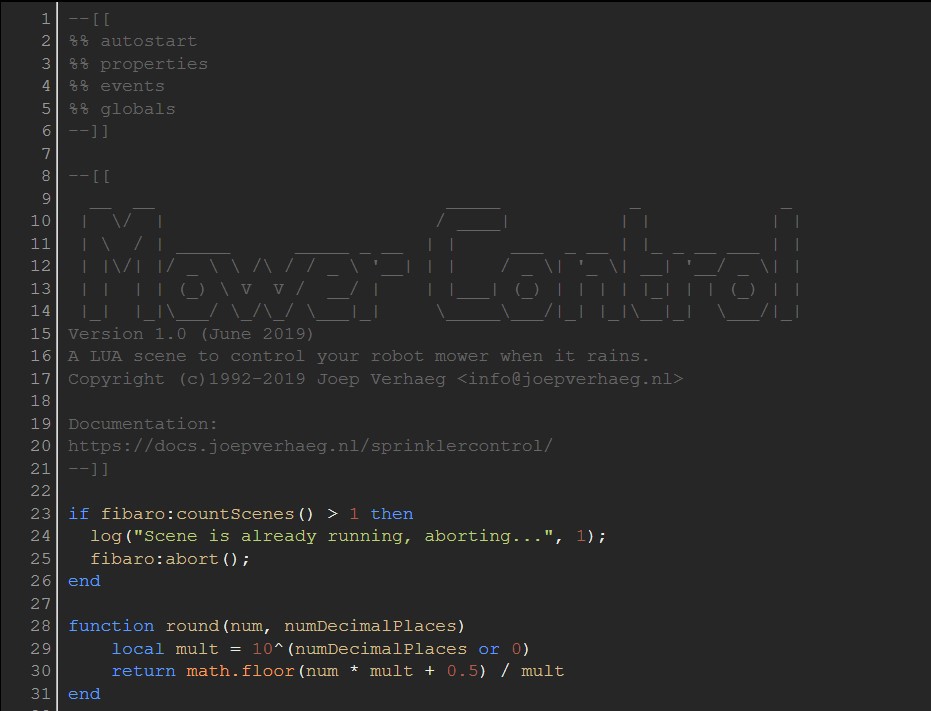
Getting the LUA scene code
- Download the LUA scene code file from my GitHub.
- Open the downloaded
MowerControl.luafile with your favorite text editor and copy the contents to the clipboard.
Create a new LUA scene and import the code
- Click on the Scenes tab in top panel and then on Add scene button in the left sidebar.
- Click in the New Scene screen on the Add button in the Add scene in LUA section.
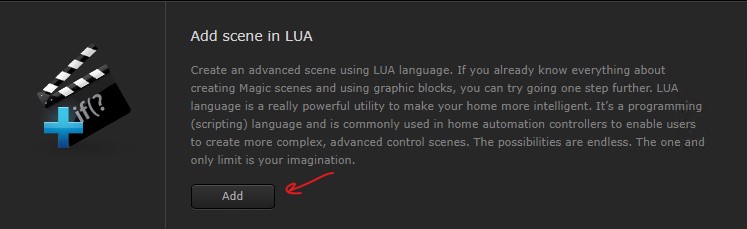
- A new scene is created with the Advanced tab opened as default.
- Remove all code and paste the contents of your clipboard in the online code editor to import the LUA scene code.
Configure the LUA scene
Set the LUA parameters
- At the bottom of the code you have to set the
gardenaEmailandgardenaPasswordyou use with the Gardena App. - Change the
latlonvariable to the coordinates you wrote down earlier in the following formatlat=52.37&lon=4.89. - Change
mowerVirtualDeviceto the virtual device id you wrote down earlier. - Change
phoneIdto the id of your phone to receive push messages.
gardenaEmail    = "user@domain.com"
gardenaPassword = "mysecretpassword"
latlon = "lat=52.37&lon=4.89"
mowerVirtualDevice = 184  -- virtual device id
phoneId = 156
Set the Scene parameters
- Click in the New Scene screen on the General tab.
- Give the Scene a Name and assign it to a Room.
- Set the parameter Max. running instances to
1 - Set the parameter Run scene to
Automatic
Congratulations!
Take a beer! Everything is finished, you are ready to go!
More information about Virtual Devices
You can read more about creating Virtual Devices in the Creating Virtual Devices Fibaro manual.
Downloads
You can download the files from here:
Explore more like this
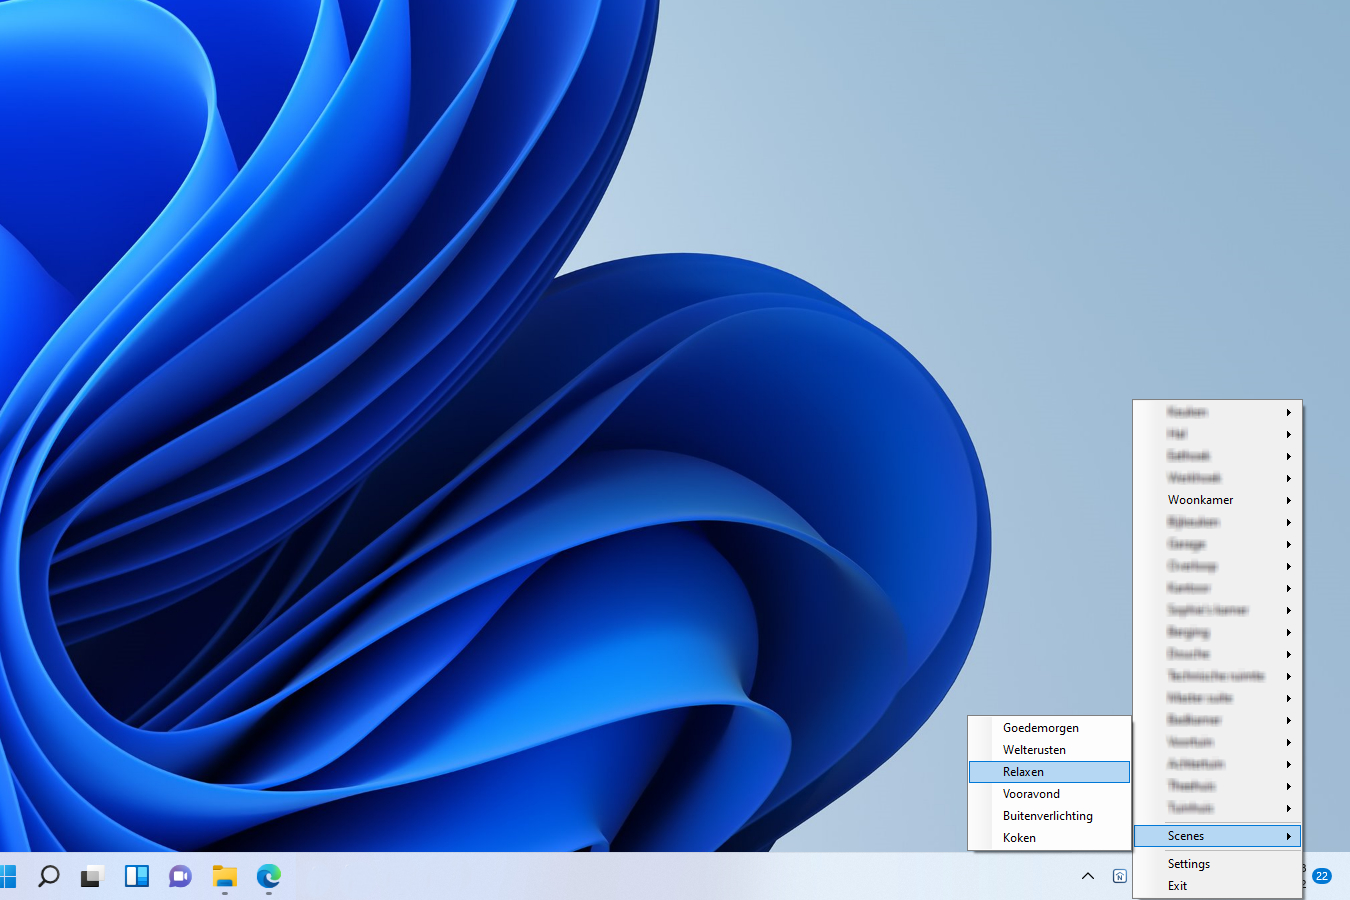
Windows 10 Fibaro Home Center 2 and 3 app
While working from home for eight months now I wanted to toggle a light or run a scene from my Windows 10 laptop. After some Googling I didn’t find an...

The Button: Lua code samples to use with Home Center 2
Sometimes I want to manually push a switch to turn on a device or simply run a light scene. Sometimes manual operation is faster than automation. The first Fibaro Button...